Woodland Photography in Scotland: Finding Order in Chaos
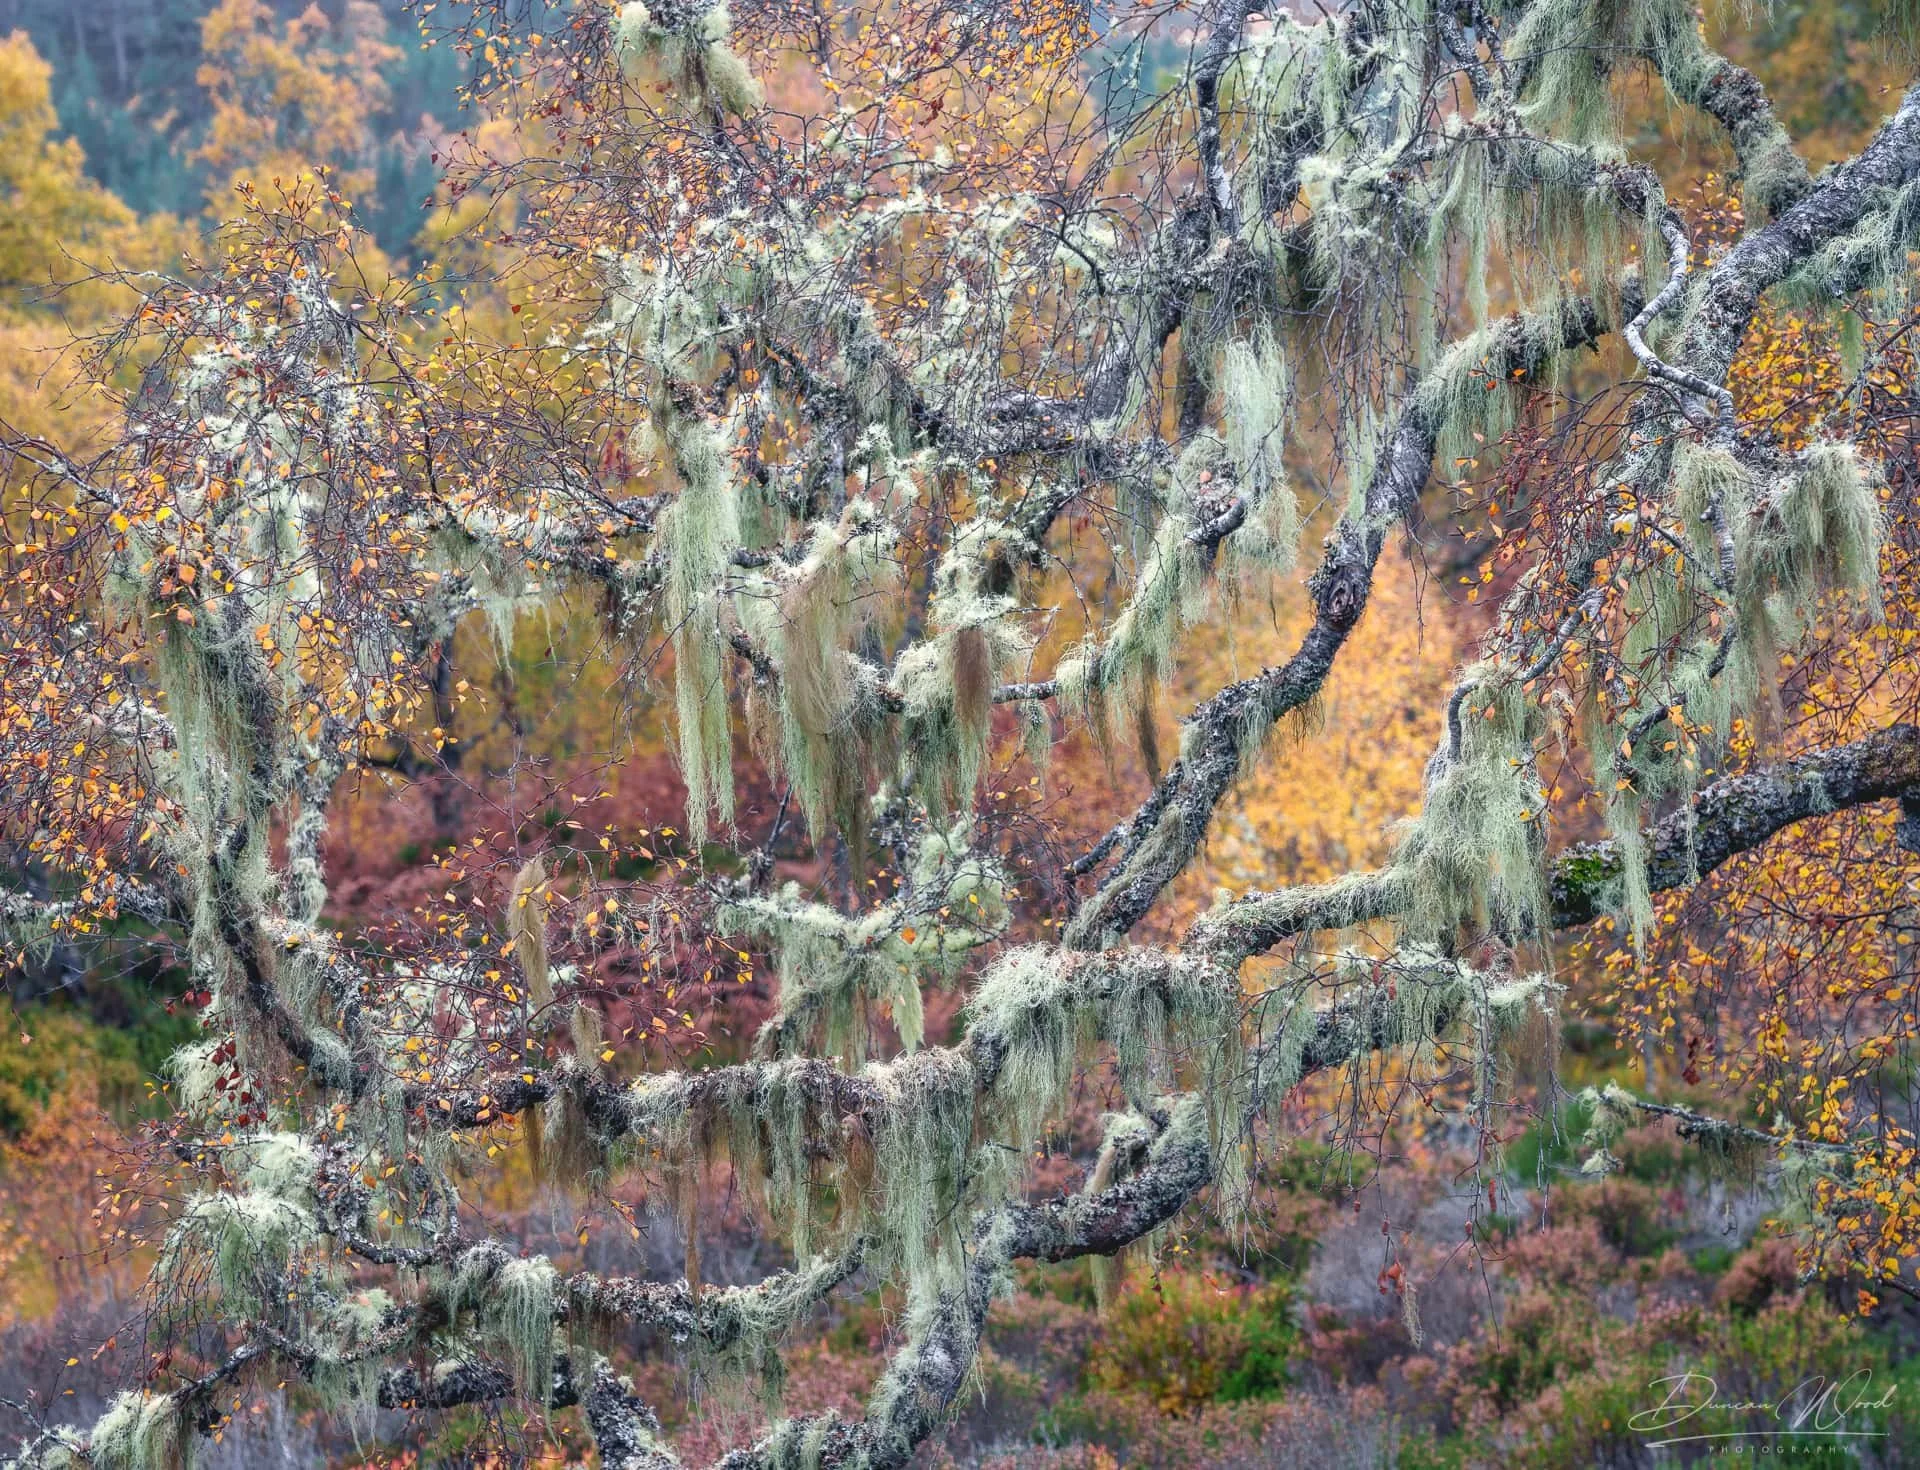
Woodland photography in Scotland can be one of the most rewarding forms of landscape photography, but also one of the most difficult.
Unlike a wide mountain view or a clean coastal scene, woodland rarely gives you a simple composition. Trees overlap. Branches cut across the frame. The forest floor can be messy. Light falls unevenly. Bright sky appears through gaps in the canopy. What feels calm and beautiful when you are standing there can quickly become chaotic when you lift the camera.
That is also what makes woodland photography so valuable.
It teaches you to slow down, look more carefully and make clearer decisions. You are not just turning up to a viewpoint and photographing what is in front of you. You are building the image from within the scene itself: trunks, branches, light, colour, texture, rhythm, distance, separation and atmosphere.
This guide shares how I approach woodland photography in Scotland, both in my own work and during woodland photography workshops. It covers composition, light, lens choice, tripod height, seasons, Glen Affric, Scottish temperate rainforest and the quieter decisions that often make the biggest difference.
Why Woodland Photography Is Different
Woodland photography is not like photographing a mountain, castle, beach or loch view.
Those subjects often have an obvious centre of attention. A mountain ridge, a sea stack, a castle, a reflection or a line of waves can immediately give the photograph structure.
Woodland is different. The subject is often everywhere and nowhere at the same time.
A good woodland photograph might be about an old birch tree, a group of Scots pine, a twist of lichen-covered branches, a patch of autumn colour, a single rowan, fresh spring greens, bluebells, moss, water, mist, light on bark or the rhythm of trunks disappearing into the background.
The best woodland images are rarely found by rushing.
They usually come from spending time in the place. Walking slowly. Stopping often. Looking behind you. Moving a little left or right. Raising or lowering the tripod. Waiting for light to soften. Noticing how one branch relates to another. Seeing what happens when you remove bright sky, simplify the background or use a longer lens to isolate part of the woodland.
In woodland, small decisions matter.
A few inches can change the image.
The Main Challenge: Finding Order in the Chaos
The biggest problem in woodland photography is visual clutter.
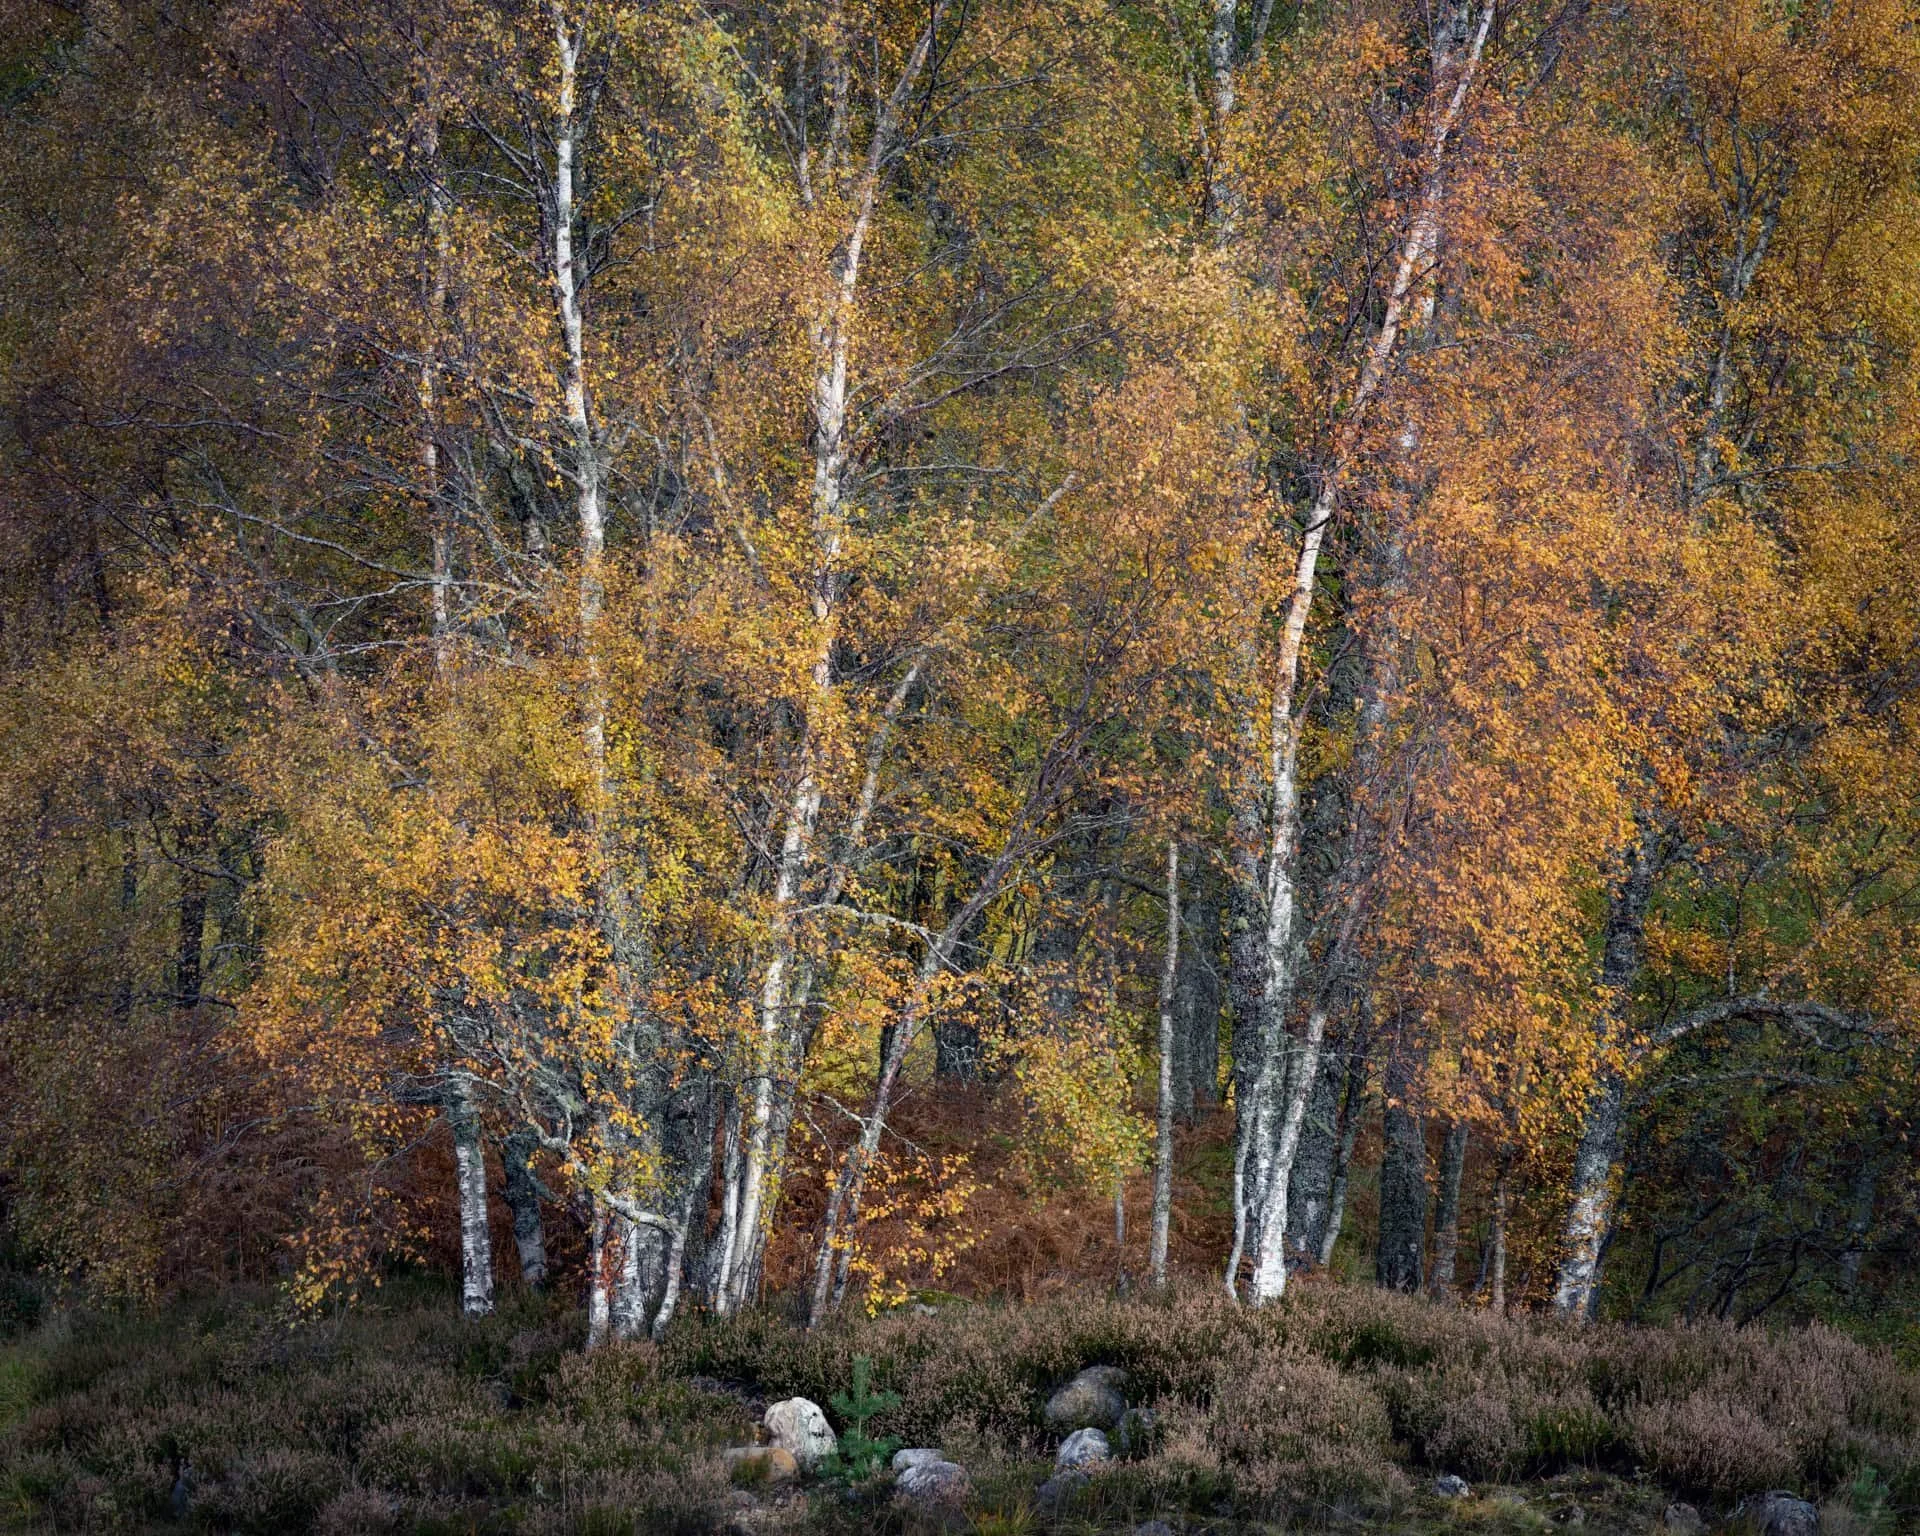
Your eyes are very good at ignoring distractions. A camera is not. The camera records every twig, stump, branch, highlight, shadow, patch of sky and awkward overlap with equal importance.
That is why woodland photography can feel frustrating at first. You can be standing in a beautiful forest and still struggle to make a strong photograph.
The key is to look for order.
That order might come from:
- one strong main tree
- repeated vertical trunks
- a clean gap between branches
- a curve or line leading through the frame
- mist separating foreground from background
- soft light falling on one area
- colour contrast between leaves, bark, moss and bracken
- a dark background behind a pale tree
- a loch edge or pool creating reflection
- a small intimate scene within the wider woodland
Before worrying about settings, ask a simpler question:
What is the photograph actually about?
If you cannot answer that, the frame may be too busy.
In woodland photography, removing distractions is often more important than adding interest. The strongest image is usually not the one with the most in it. It is the one where the subject has enough space to breathe.
Start With One Subject
When a woodland scene feels overwhelming, start with one thing.
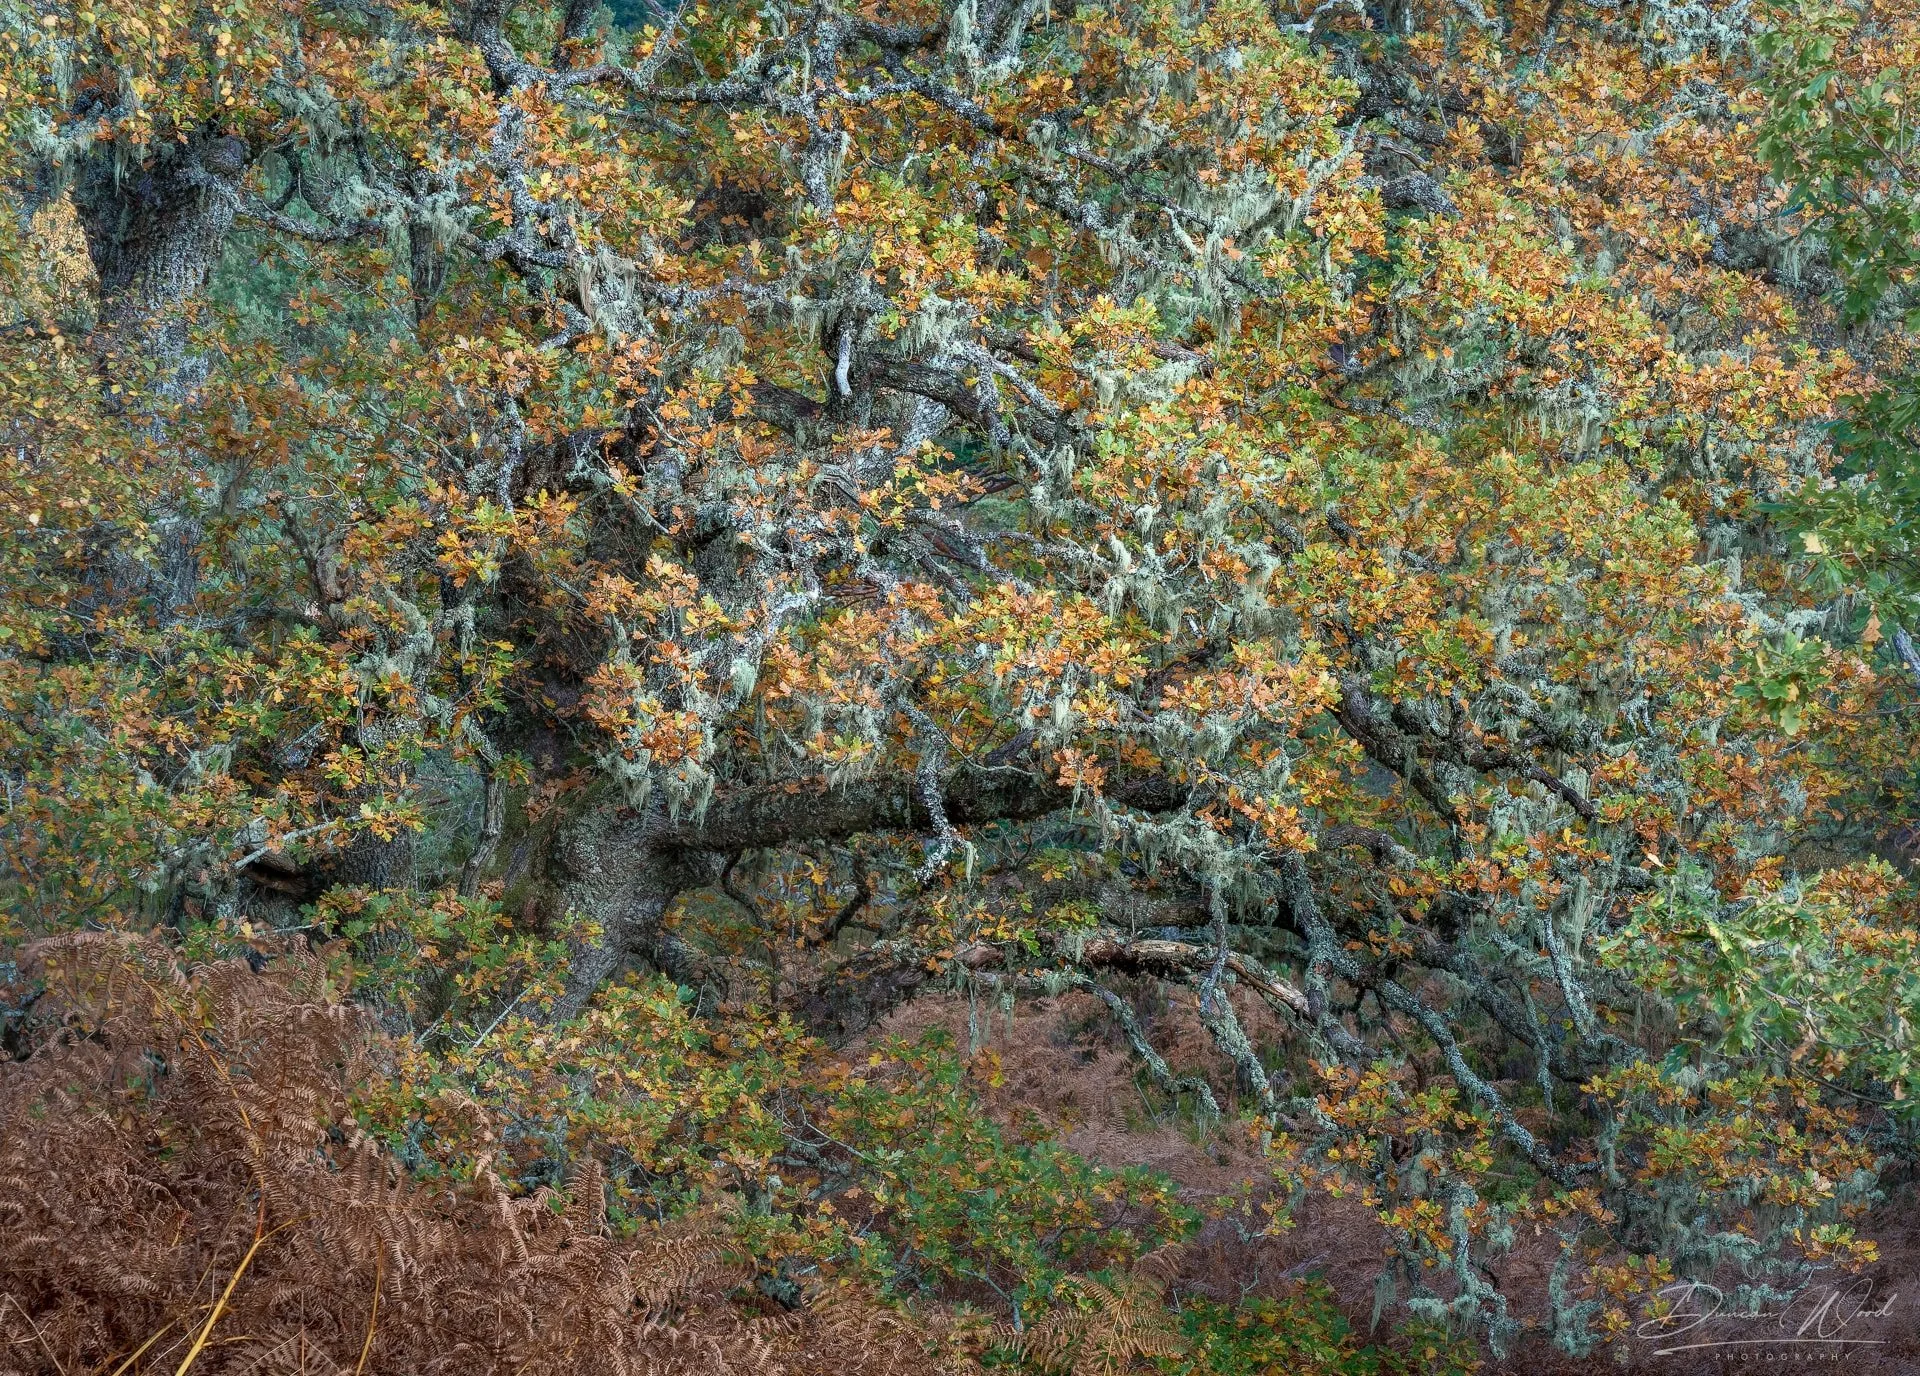
It might be a tree, a branch, a patch of light, a group of trunks, a reflection, a line of moss, a fallen leaf, a curve in the path or the colour of bracken against silver birch.
Once you have found that subject, build the photograph around it.
Ask yourself:
- What drew me to this?
- Is the background helping?
- Is anything cutting through the subject?
- Is there a cleaner angle?
- Would this work better vertically?
- Can I exclude the sky?
- Would a longer lens simplify the scene?
- Would a higher tripod position help?
This is one of the reasons I enjoy teaching woodland photography. The decisions are visible. You can move a little and immediately see the composition improve or fall apart.
Woodland forces you to become more intentional.
The Importance of Tripod Height in Woodland Photography
A tripod is useful in woodland for the obvious reasons: stability, sharpness, low ISO, slower shutter speeds and more careful composition.
But there is another reason I think is often overlooked.
A tall tripod can completely change woodland photography.
My own tripod goes up to around seven feet, and that height is incredibly useful in the forest. It is not about making the camera higher for the sake of it. It is about controlling what appears behind the subject.
One of the biggest problems in woodland is bright sky breaking through the trees. Even small patches of white sky can pull the eye away from the subject. They often become the brightest part of the image, and once that happens, the viewer’s eye keeps jumping to the gaps rather than staying with the trees, colour, texture or atmosphere.
A taller tripod gives you another option.
By raising the camera and tilting it slightly down, you can often cut out the sky altogether. Instead of looking through the trees towards bright gaps, you are looking more into the woodland floor, trunks, moss, bracken, leaves and darker background.
That can make the image feel much calmer.
This is especially useful when photographing:
- birch woodland
- autumn colour
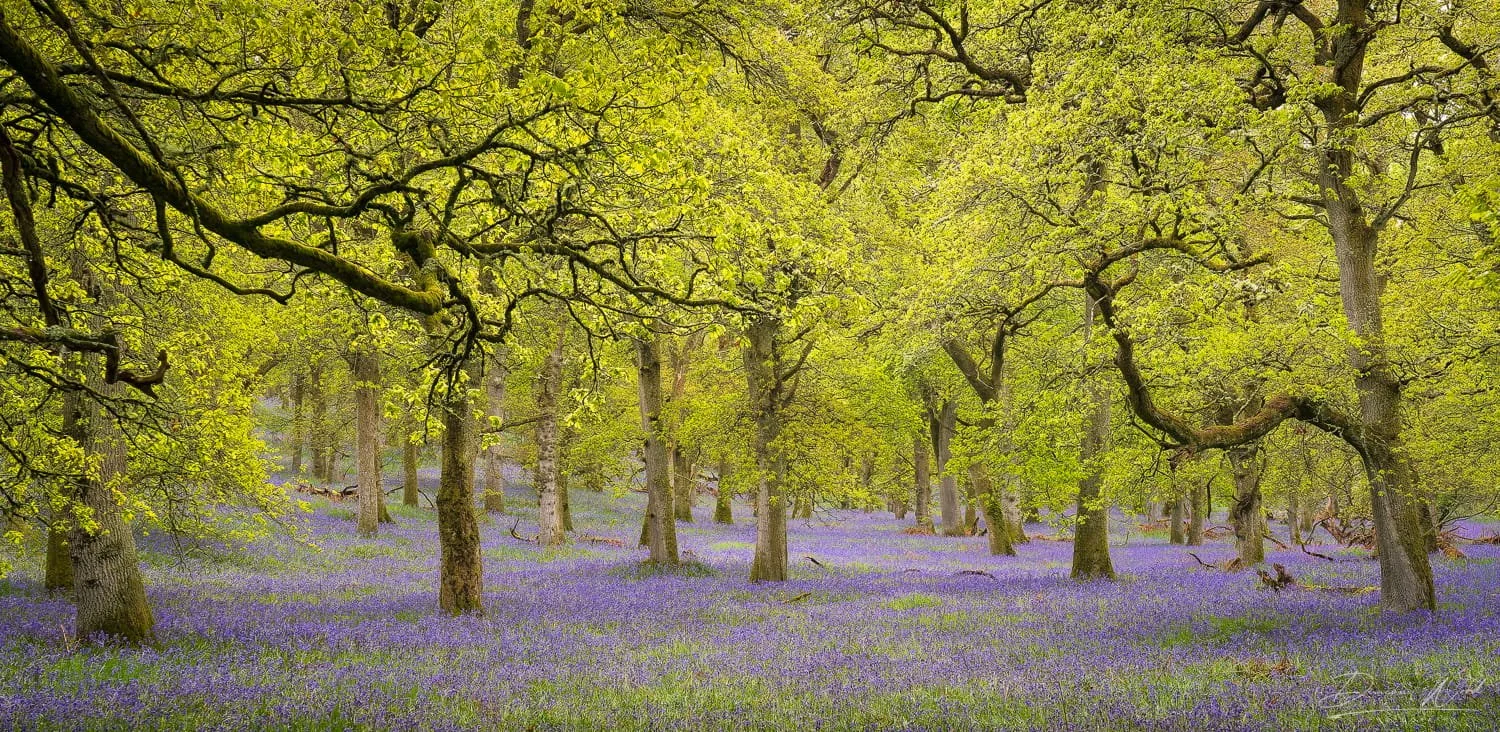
- bluebell woods
- mossy rainforest
- intimate woodland scenes
- lone trees inside woodland
- fallen branches and foreground detail
- scenes where the sky is bright but uninteresting
A low tripod position can make trees feel tall and dramatic, but it often includes more sky. A higher tripod position can compress the scene down into the woodland itself, keeping the viewer’s attention where you want it.
For me, this is one of the most important practical woodland photography tips.
If you are buying a tripod for landscape photography, do not only think about weight and stability. Think about height. A tripod that can go higher gives you more control in woodland, especially when you are trying to simplify a busy composition.
Use Soft Light, Mist and Rain
Woodland does not always need dramatic sunrise or sunset light.
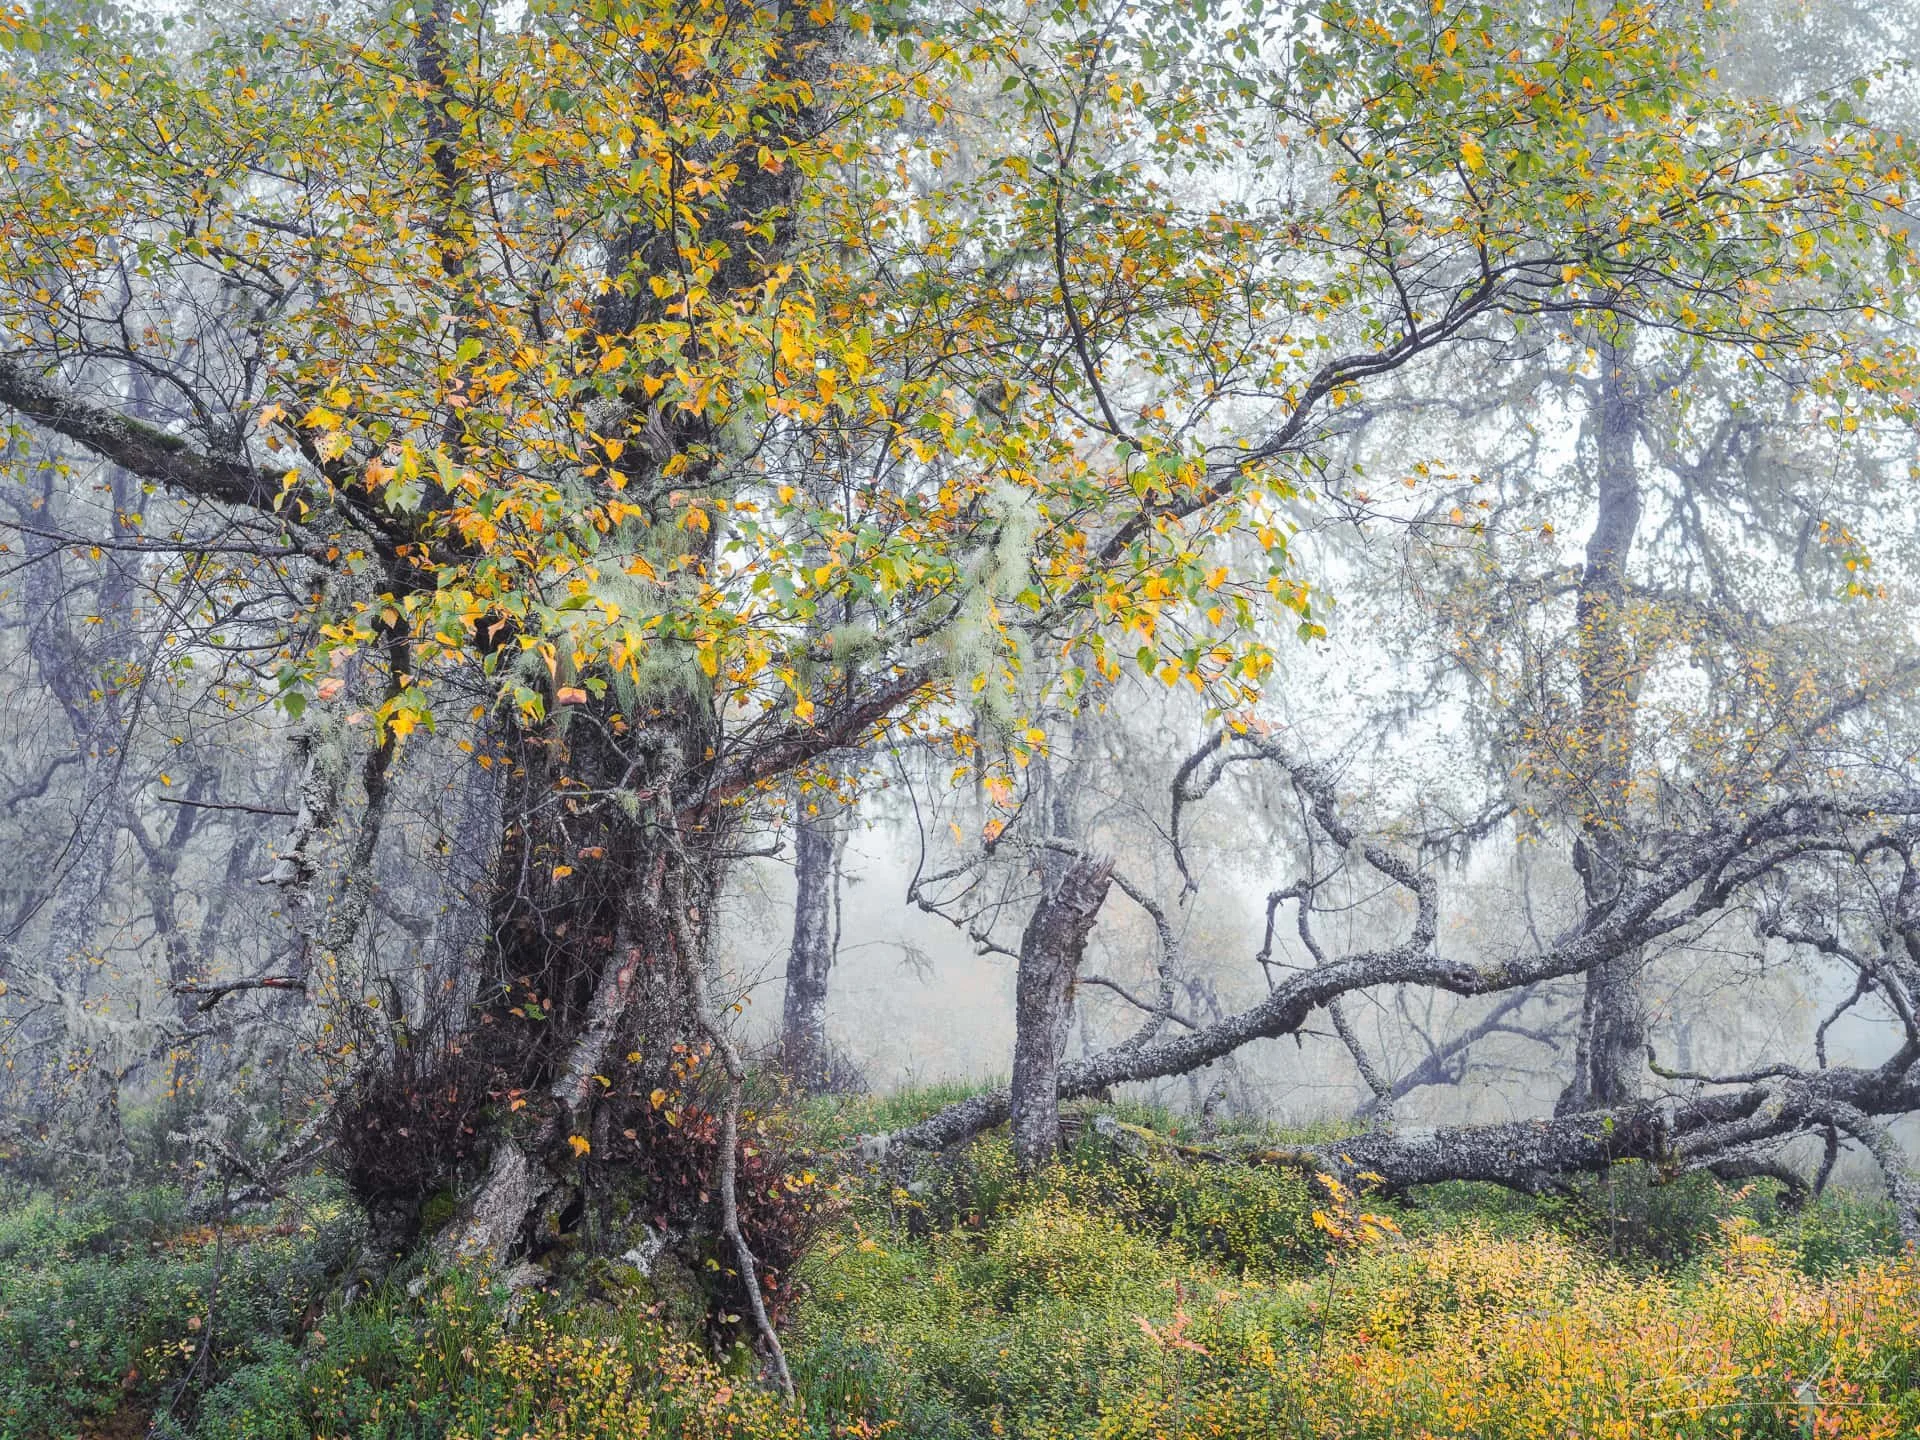
In fact, strong direct sunlight often makes woodland photography harder. It creates bright highlights, deep shadows and harsh contrast. The scene can become patchy and difficult to balance.
Soft light is usually much kinder.
Good woodland photography conditions include:
- overcast days
- light rain
- mist
- damp mornings
- calm air
- soft side light
- late autumn colour
- low winter light
- fresh spring greens
- still water beside woodland
Rain can be particularly useful. Wet bark, leaves, moss and bracken often hold richer colour. Lichen becomes more visible. The woodland floor can feel deeper and more alive. What looks flat in dry weather can become atmospheric after rain.
Mist is another gift in woodland. It creates separation between layers and helps simplify the chaos. Background trees fade away. The subject becomes clearer. The whole scene can feel quieter and more balanced.
Some of my favourite woodland conditions are the ones many people would describe as poor weather.
For wider landscape photography, grey skies can feel disappointing. For woodland, they can be ideal.
Avoid Bright Sky Where Possible
Bright sky is one of the most common problems in woodland photography.
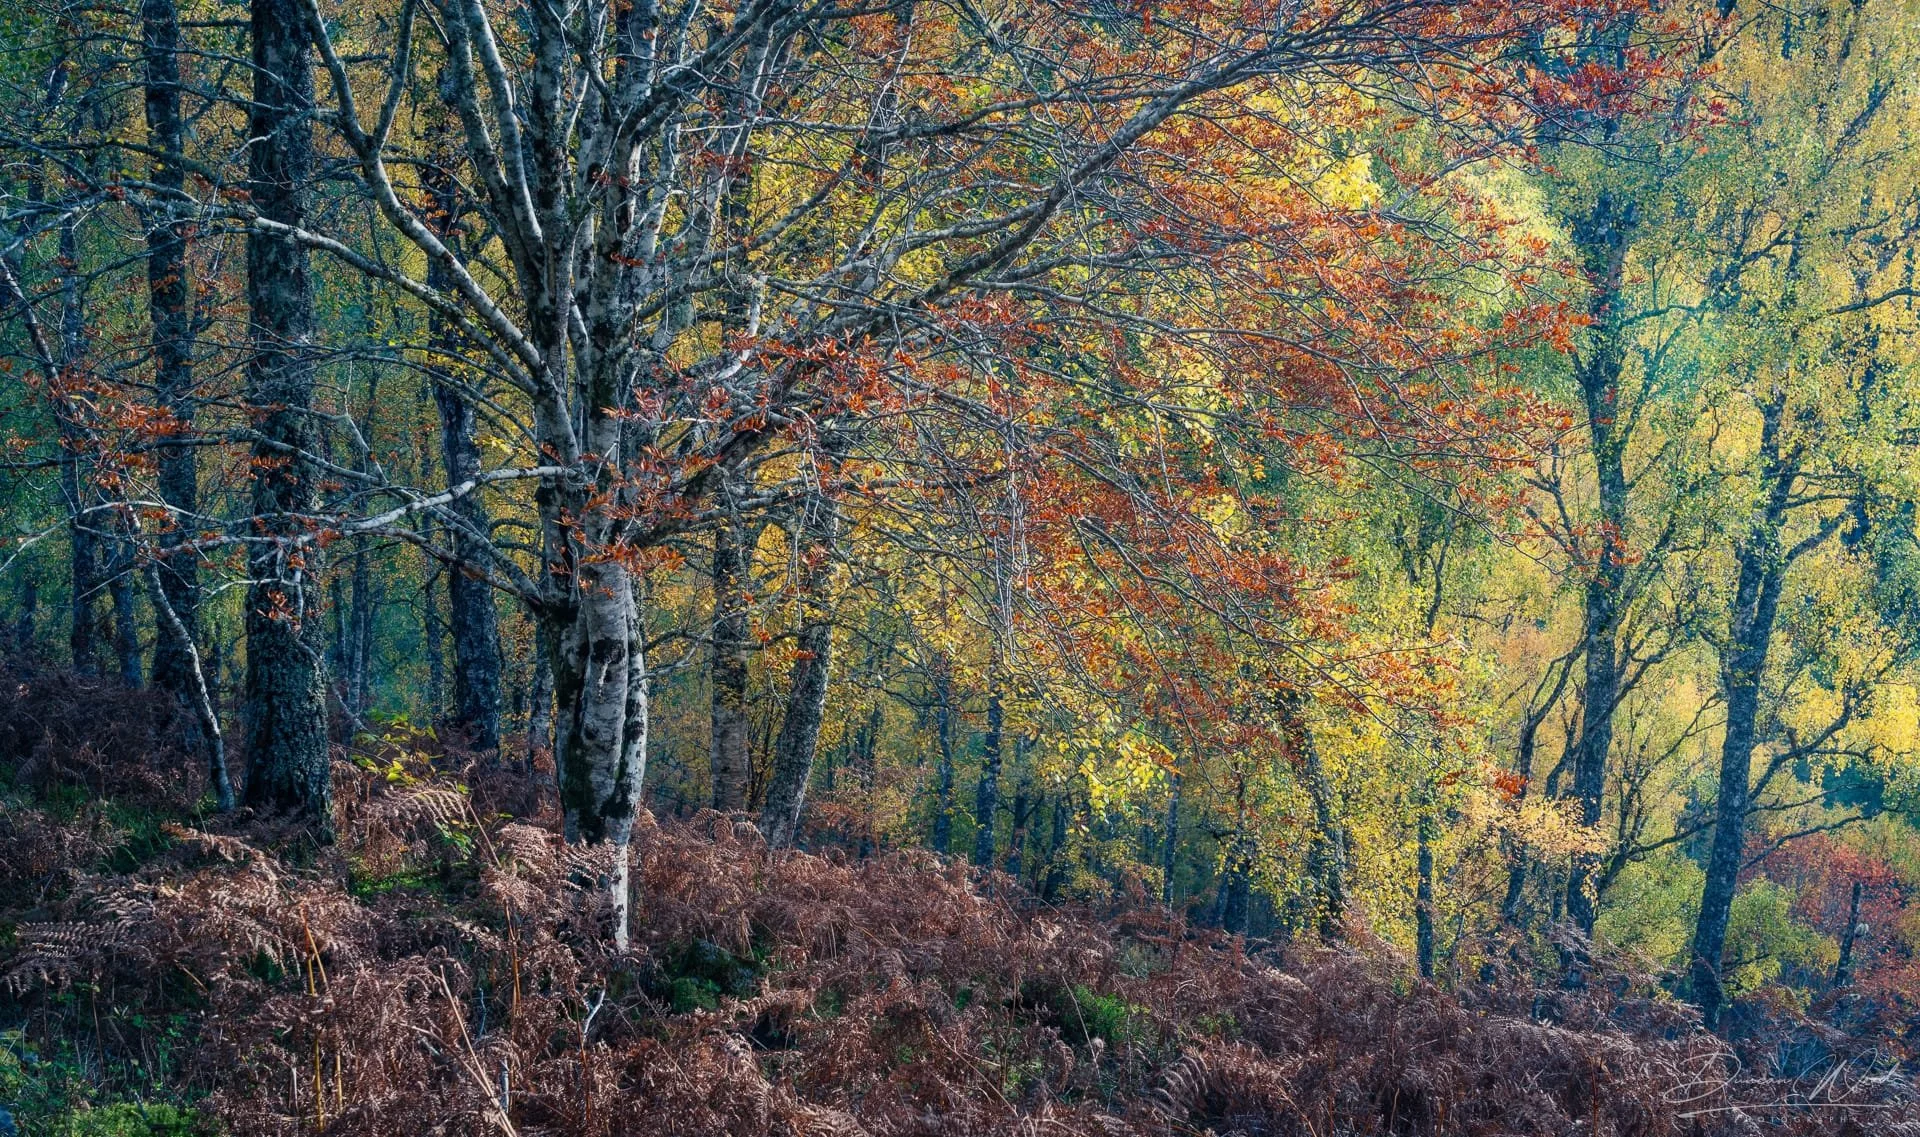
It does not mean you can never include sky. Sometimes it works, especially with mist, winter branches, strong silhouettes or a deliberate graphic composition. But most of the time, random patches of white sky make the image harder to control.
The eye is naturally pulled towards the brightest part of the frame. If that brightest part is an empty gap between branches, the viewer’s attention is pulled away from the subject.
To reduce this, try:
- raising the tripod and tilting down
- using a longer lens
- changing your position
- looking for darker backgrounds
- photographing on overcast days
- using mist or rain to soften contrast
- working with denser woodland
- composing around trunks rather than gaps
The aim is not simply to hide the sky. The aim is to keep the photograph about the woodland.
Lens Choice for Woodland Photography
Many photographers walk into woodland with a wide-angle lens and try to include everything.
Sometimes that works. A wide lens can be excellent for immersive woodland scenes, especially if you have a strong foreground, tall trees, mossy roots or a clear path leading through the frame.
But wide lenses also include more clutter.
If the woodland is already busy, a wide lens can make the problem worse.
For woodland photography in Scotland, I often find standard and longer focal lengths more useful. They allow you to isolate smaller scenes, compress layers and create cleaner compositions.
A good way to think about lens choice is:
- Wide angle: useful for immersive woodland interiors, foregrounds, paths, tall trees and close subjects.
- Standard zoom: useful for flexible woodland compositions, balanced scenes and general field work.
- Telephoto: excellent for isolating trees, compressing layers, simplifying clutter and finding quieter details.
A longer lens can turn a chaotic woodland into a series of smaller photographs.
Instead of trying to photograph the entire forest, you can focus on one relationship: a pale birch against dark pine, a branch shape, a patch of autumn bracken, a distant tree in mist or a small pool of light.
That is often where the stronger images are.
Composition Tips for Woodland Photography
1. Watch the edges of the frame
The edges of a woodland photograph are often where problems appear.
Look for bright gaps, cut-off branches, awkward trunks, distracting leaves, half-visible trees or small twigs entering the image.
A composition can look good in the middle and still fail at the edges.
Before pressing the shutter, scan the frame carefully. Then move slightly if needed.
2. Look for separation
Separation is vital in woodland.
If your main tree blends into the background, the image can feel confused. If branches merge awkwardly, the subject loses strength.
Separation can come from:
- mist
- light
- colour contrast
- a dark background
- shallow depth of field
- a small change in camera position
- using a longer lens
- simplifying the scene
Often, the best improvement is not a different setting. It is moving half a step.
3. Use rhythm and repetition
Woodland is full of natural rhythm.
Repeated trunks, branches, leaves, reflections and patterns can all help structure the image. Birch woodland is especially good for this because the pale trunks can create strong visual rhythm against darker backgrounds.
Look for repetition, but also look for the break in the repetition.
Sometimes the image works because one tree is different.
4. Try vertical compositions
Woodland often suits vertical framing.
Trees are vertical subjects. Tall trunks, narrow clearings, paths, waterfalls, branches and intimate scenes can all work better in portrait orientation.
If you find a scene that almost works horizontally, turn the camera vertically and simplify the frame.
5. Work the scene properly
Do not take one photograph and move on too quickly.
Woodland rewards patience. Once you find a subject, work around it.
Try:
- higher
- lower
- left
- right
- closer
- further back
- wide
- tight
- portrait
- landscape
The first composition is often only the start.
Camera Settings for Woodland Photography
There is no single perfect setting for woodland photography. The settings should support the image you are trying to make.
As a starting point:
- ISO: keep it low where possible. ISO 100 or 200 is ideal if you are using a tripod.
- Aperture: use around f/8 to f/11 for general woodland scenes where depth and detail matter.
- Shutter speed: let the shutter speed fall as needed if the camera is on a tripod.
- Focus: focus carefully on the main subject, or around one-third into the scene if you need depth.
- File type: shoot RAW for maximum flexibility with colour, contrast and tonal adjustments later.
If you are photographing details, you might use a wider aperture to separate the subject.
If you are photographing deep woodland, you may stop down for more depth.
If you are photographing moving water, the shutter speed becomes a creative choice.
The settings matter, but they come after the visual decision.
The better question is not “what settings should I use?”
It is “what does this image need?”
Using a Polarising Filter in Woodland
A polarising filter can be useful in woodland, especially after rain.
It can reduce glare on wet leaves, bark, moss and rocks, helping colour and texture appear richer. It can also be useful around streams, waterfalls and loch edges.
But it should be used carefully.
Too much polarisation can make greens look heavy or unnatural. It can also remove reflections that might actually be helping the photograph.
The best approach is to rotate the filter slowly and watch what changes. Do not just turn it to maximum effect automatically. Use it until the image feels right.
In woodland, subtlety usually works better than force.
Photographing Scottish Woodland Through the Seasons
Spring Woodland Photography
Spring woodland is fresh, delicate and full of new growth.
It is a good time for:
- bluebells
- fresh green leaves
- soft light
- woodland paths
- gentle colour
- close details
- longer lens compositions
Bluebell woodland can be beautiful, but it needs care. Avoid trampling flowers and use paths where possible. A longer lens can help compress bluebells through the trees without stepping into fragile areas.
Spring is also one of the best times to photograph temperate rainforest, with moss, lichens, fresh growth and damp atmosphere.
Summer Woodland Photography
Summer woodland can be harder because the canopy becomes dense and the greens can feel heavy.
That does not mean it should be ignored.
Look for:
- streams
- shaded details
- rain
- ferns
- backlit leaves
- intimate scenes
- woodland edges
- early morning or evening light
In summer, I often work smaller. Rather than trying to photograph the whole woodland, I look for details, water, texture and pockets of light.
Autumn Woodland Photography
Autumn is the classic woodland season in Scotland.
Birch, oak, rowan, bracken, larch, Scots pine and damp forest floors can all combine to create rich colour and atmosphere.
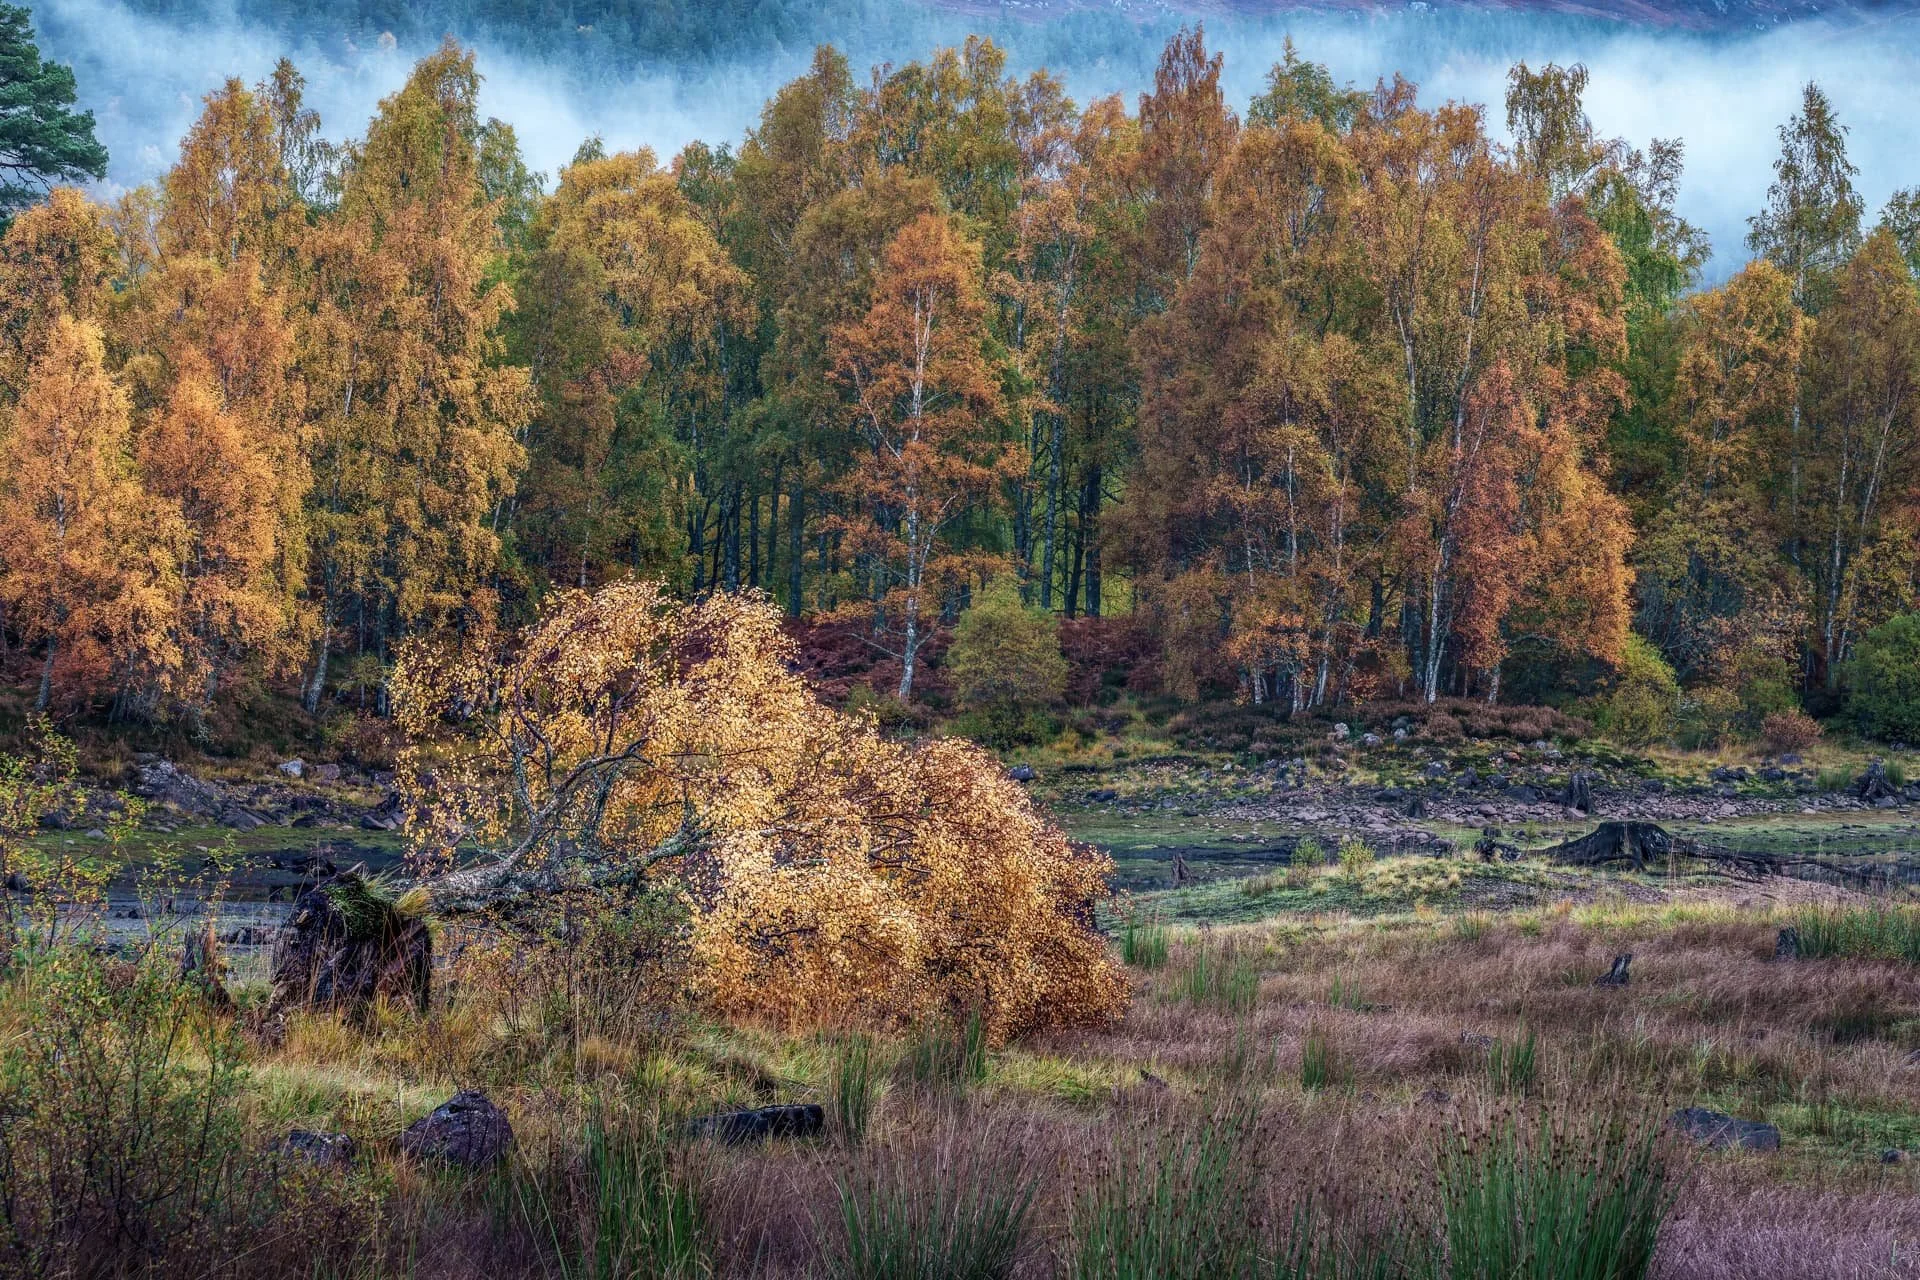
Autumn is especially strong in places like Glen Affric, where old birch, Scots pine, loch edges, reflections, mist and Highland light come together.
This is the season when woodland can feel at its most expressive, but it still needs careful composition. Colour alone is not enough. The image still needs structure, balance and a clear subject.
Winter Woodland Photography
Winter strips woodland back to shape.
Without leaves, the structure of trunks and branches becomes more visible. Frost, snow, bare birch, low light and mist can create simpler, more graphic images.
Winter woodland can be quiet, minimal and very beautiful.
It is also a good season for learning composition because the underlying structure of the woodland is easier to see.
Woodland Photography in Glen Affric
Glen Affric is one of Scotland’s finest woodland locations and one of the places I return to for autumn photography.
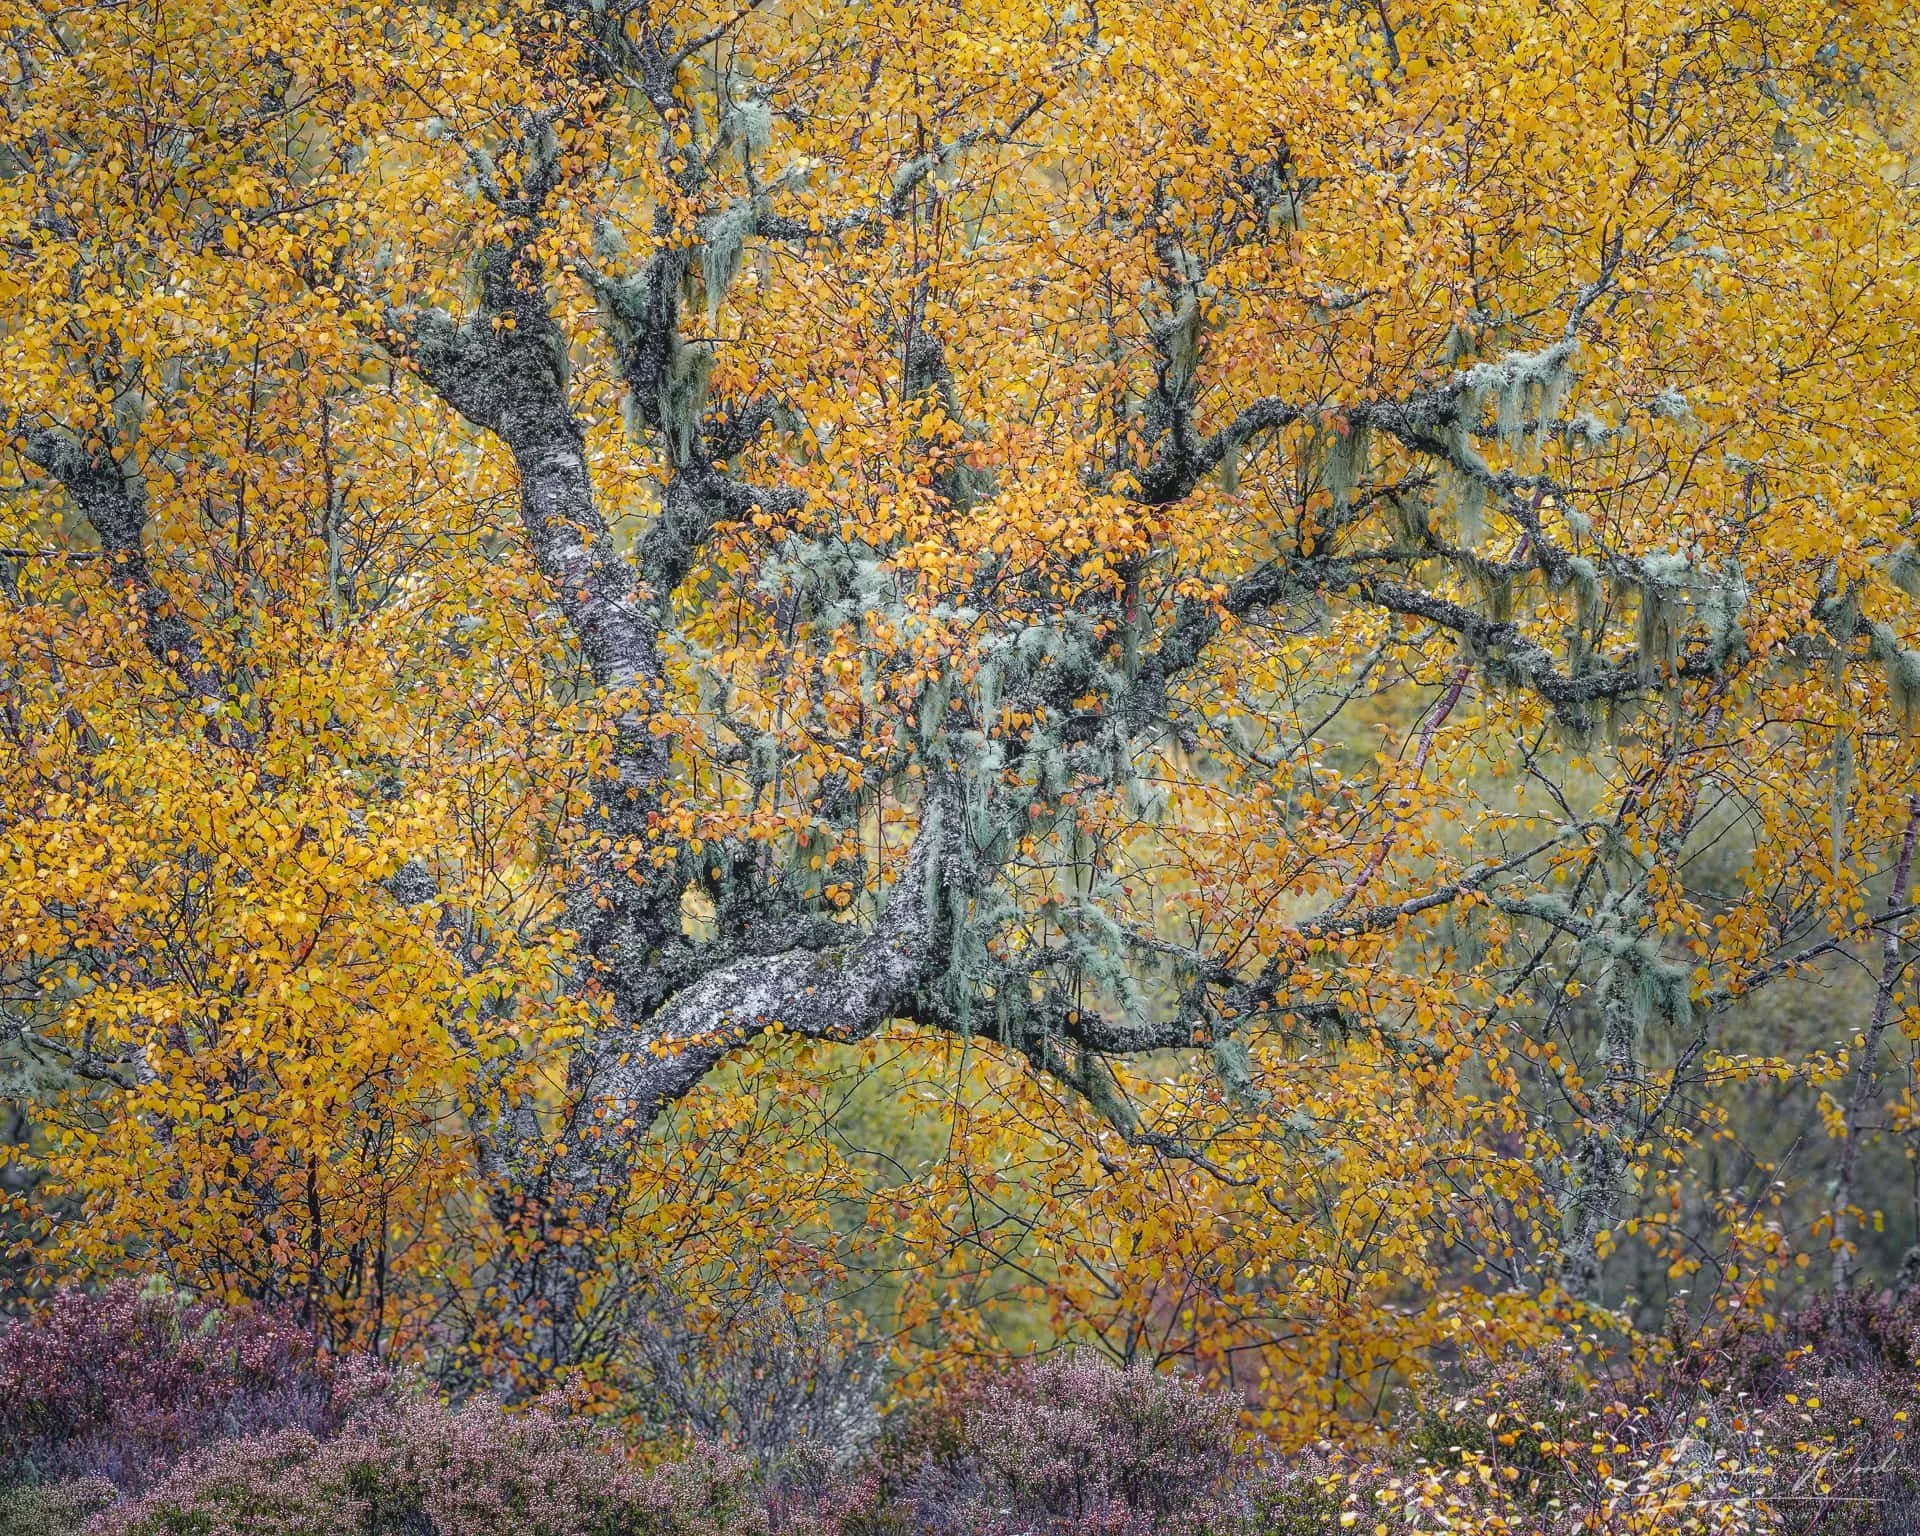
It is famous for its ancient Caledonian forest, Scots pine, old birch, loch edges, reflections, lichen, moss, bracken and Highland atmosphere.
For me, Glen Affric is not just a viewpoint location. It is a place to slow down and work more carefully.
There are wide views, but the real photographic strength is often found in the woodland itself: the way old trees sit beside water, how birch trunks separate against darker pine, how autumn colour reflects in the loch, how lichen catches soft light, and how mist can simplify the background.
This is exactly why Glen Affric works so well for a woodland photography workshop.
It gives us time and variety. We can work with wider Highland context, intimate landscape scenes, old trees, reflections, autumn colour and the smaller details that are easy to miss when moving too quickly.
You can also read more about my approach to Glen Affric woodland photography here:
Scottish Temperate Rainforest and Ancient Woodland
Scotland’s temperate rainforest has a very different feel from drier woodland.
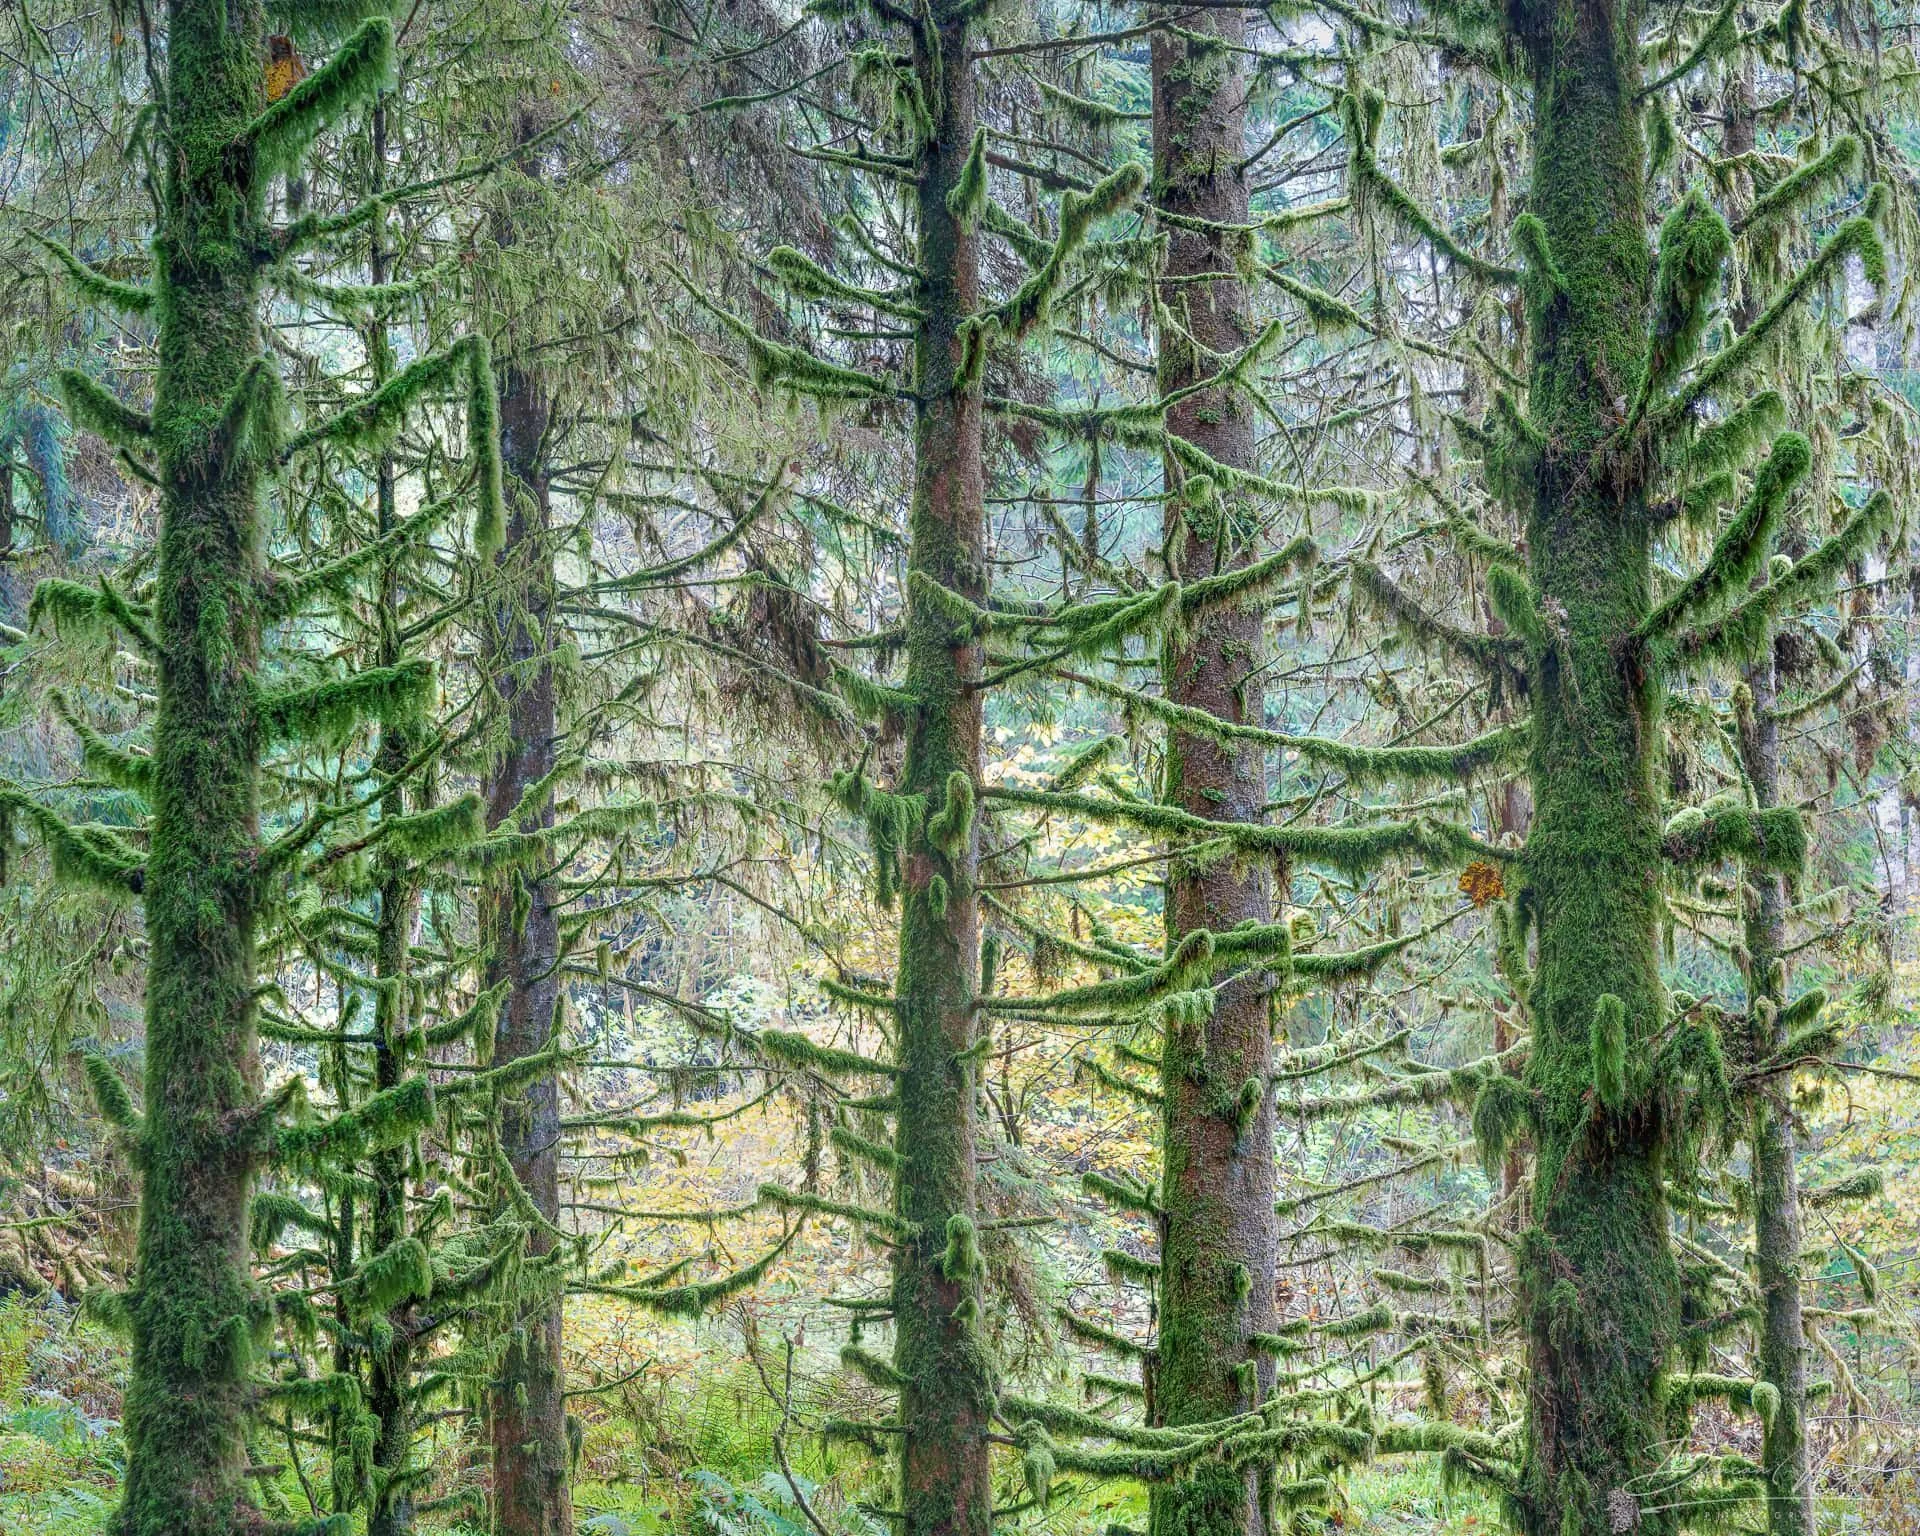
It is damp, textured, green, layered and full of life. Mosses, lichens, liverworts, old oak, birch, rock, water and shade all contribute to its character.
Photographically, rainforest can be challenging because it is often dense and visually complex. But it can also be incredibly rewarding.
The same principles apply:
- simplify
- avoid bright sky
- look for structure
- use soft light
- work with wet conditions
- watch the edges
- use tripod height carefully
- find one subject within the wider chaos
Temperate rainforest is less about dramatic views and more about atmosphere, texture and feeling.
That suits the way I like to photograph woodland.
Learning Woodland Photography on a Workshop
A woodland photography workshop is not just about being taken to a location.
The value is in working through the decisions that are hardest to make on your own.
Things like:
- where to stand
- what to leave out
- which lens to use
- how to simplify a busy scene
- how to use tripod height
- how to avoid bright sky
- how to read soft light
- how to work with rain or mist
- how to build a stronger composition
- how to slow down and see smaller scenes
On my Scottish Woodland Photography Workshops, the day is shaped around your level, pace and interests.
For some people, that means getting off Auto and understanding the camera properly. For others, it means improving composition, learning to handle woodland clutter, working more carefully with light or building a more personal way of seeing.
Woodland is a brilliant subject for learning because it gives us constant practical decisions to work through.
It is rarely obvious. That is exactly why it teaches you so much.
Beginner, Intermediate and Advanced Woodland Photography
Woodland photography can be adapted to different levels.
For a beginner, the focus might be:
- understanding aperture, shutter speed and ISO
- using a tripod
- getting sharper images
- learning focus and exposure
- moving away from Auto
- spotting simple compositions
For an intermediate photographer, the focus might be:
- stronger composition
- better lens choice
- controlling clutter
- working with soft light
- improving consistency
- making clearer field decisions
For an advanced photographer, the focus might be:
- personal style
- restraint
- visual rhythm
- atmosphere
- subtle colour
- sequencing
- portfolio refinement
- making more intentional images
This is one of the reasons woodland works so well as a workshop subject. It can meet you wherever you are with your photography.
The subject stays the same, but the decisions become deeper.
If you are unsure where you sit, you can explore the different workshop levels here:
Level 1 Beginner Photography Workshop
Common Woodland Photography Mistakes
Trying to include too much
This is probably the most common mistake.
Woodland is already busy. If you include everything, the image can lose direction. Try making the frame simpler and more deliberate.
Ignoring the background
The background is often as important as the subject.
A beautiful tree can be weakened by branches, bright gaps or messy overlaps behind it.
Keeping the tripod too low
Low tripod positions can work, but they often include more sky.
If the sky is distracting, raise the tripod and tilt down. This is one of the quickest ways to clean up a woodland composition.
Photographing in harsh light
Bright sun can work in some situations, but it often makes woodland harder. Soft light, cloud, rain and mist are usually more useful.
Moving on too quickly
Woodland rewards time.
If something catches your attention, stay with it. Work the scene. Most good woodland images are found through small refinements.
Final Thoughts
Woodland photography in Scotland is not always easy.
It can be messy, slow and frustrating. You can spend a long time looking before the image starts to appear.
But that is exactly why it is so rewarding.
Woodland teaches you to look harder. It asks for patience. It makes you pay attention to small changes in position, light, height, background and framing.
Instead of chasing the obvious view, you begin to notice rhythm, texture, atmosphere, colour and quieter relationships within the landscape.
For me, that is where woodland photography becomes most interesting.
If you are drawn to ancient woodland, autumn colour, Scots pine, birch, moss, lichen, bluebells, reflections and more intimate landscape photography, Scotland has an extraordinary amount to offer.
And if you would like help developing that way of seeing, my Scottish Woodland Photography Workshops can be shaped around your level, your pace and the kind of images you want to make.
Woodland Photography Workshops in Scotland
I offer calm, practical woodland photography workshops across Scotland, including Angus, Tayside, Perthshire, Fife, Aberdeenshire and further afield by enquiry.
Workshops can be arranged one-to-one or for small groups, and can be shaped around beginner, intermediate or advanced photographers.
You can also explore my Glen Affric Woodland Photography Workshop, which is a signature autumn workshop focused on ancient woodland, autumn colour, old birch, Scots pine, loch edges, reflections and intimate landscape photography.
If you are unsure which workshop is right for you, send a few details about your experience, preferred dates and the kind of woodland images you would like to make.